
How to Turn Several Images Into One PDF in the Right Order
Combine JPG, PNG or WebP files into a single PDF, choose the page size and review the result without losing important edges.
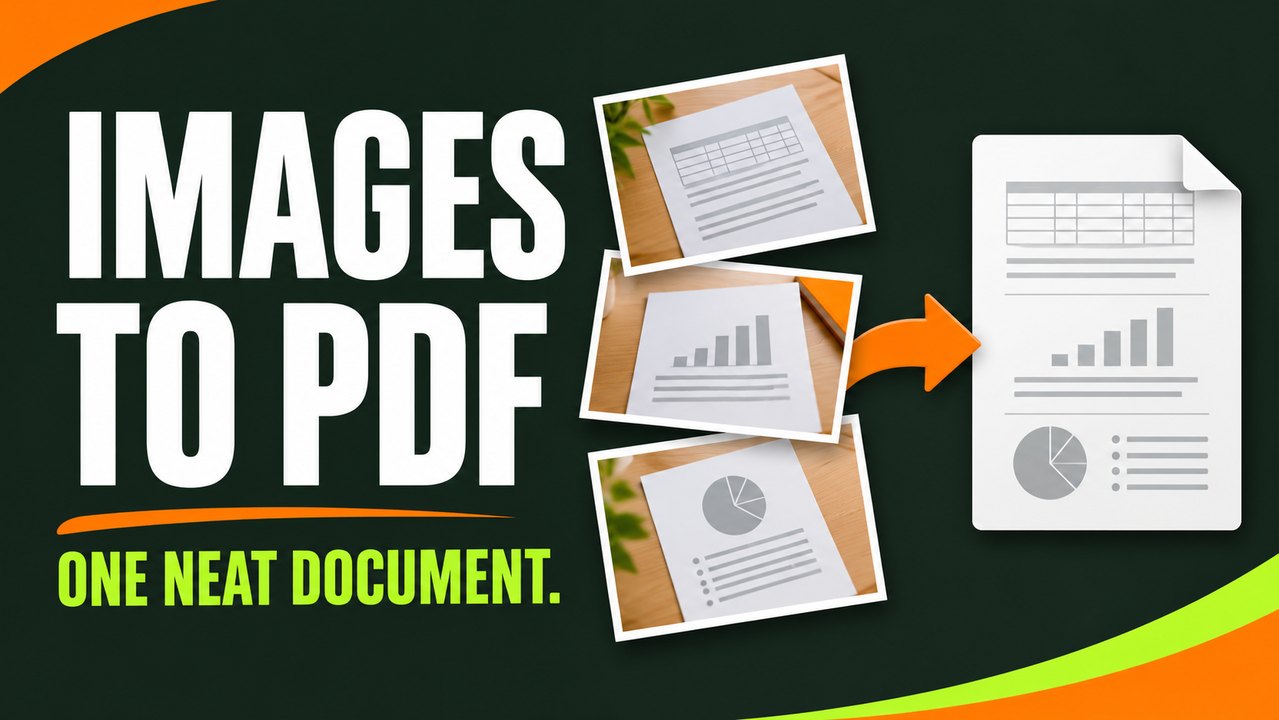
Make a PDF from photos in three steps
Open the Image to PDF tool and add your JPG, PNG or WebP images. Check their order, choose A4 or US Letter, and decide whether the photos should fit inside each page or fill its available area. Generate the PDF, download it, and open the result to check the first page, the last page and any image with details close to an edge.
The tool creates one page for each image. A set of five photos creates a five-page document. The picture on each page may be an entire scan, a single receipt, a screenshot or a photo of an object. If you need several small photos to appear together on one page, arrange them on a single canvas first and export that composite as an image.
Keep the input files until you have checked the PDF. Converting a photo to a PDF packages its visible contents in a document. It does not automatically make the text searchable, recover a missing corner, or reorganise photos based on the words in them. Those are separate tasks that you can handle before or after conversion as the situation requires.
Decide how the reader will use the document
If you are submitting photos to an online form, read the form instructions first. Check the allowed page size, file size, number of pages and file type. A form may ask for one PDF but still require that each document appears in a particular order. Gather the required pages before creating a finished file.
For printing, consider the paper the recipient is likely to use. A4 and US Letter have different page proportions. The most dependable choice is the size specified in the instructions or in your printer settings. If there is no required size, either can work for a simple digital packet. Use print preview to check how the document appears on the paper you actually intend to use.
For sharing by email or chat, think about how much zooming your reader will need. Fine print in a full-page photograph can be harder to read on a phone than a cropped image of the important section. Make an output that keeps the useful context and removes distracting surroundings where you can. If the whole document is required, keep the edges and check that the smallest meaningful text stays readable.
Prepare and order the source images
Create a short list of the pages you expect to see, starting with the item that makes the rest easiest to understand. For a reimbursement packet, that might be a cover summary followed by receipts in date order. For a portfolio, start with a title page or a strong example. For a scanned document, match the original page sequence.
Use descriptive names for working copies. Labels such as 01-front, 02-back and 03-appendix can be easier to follow than camera filenames. Still check the order shown in the tool. Photos can be added from different folders, and the first item you click may not be the first item in the final list. Read the list from top to bottom before exporting.
Look for duplicates, alternate versions and missing pages before conversion. A receipt may have been photographed twice because the first picture was blurry. A form may have an unsigned and a completed copy. Choose the image containing the correct information, and keep doubtful images separate until you know whether they belong in the final document.
Choose fit or fill based on the edges
Use fit when you need the entire picture. It scales the image to fit inside the available area on the page. If the image and paper have different proportions, you will see margin space on two sides. This is usually right for receipts, forms, certificates and photos where text or objects are near the edge.
Use fill when you want the image to cover the available page area and some cropping is acceptable. A broad landscape photo placed on a portrait page may lose parts of its sides. By contrast, a tall portrait may lose a little at the top and bottom if its shape differs from the page. Examine the preview at both ends of the picture before relying on fill.
A good rule for an unfamiliar document is to begin with fit. If the result looks too small, crop unneeded background from the source with the Image Editor and try again. Removing empty table space around a receipt, for example, can make the receipt take up more of the page without trimming any information from it.
Worked example: put four receipts into one PDF
Imagine a trip produces four receipts for fuel, parking, meals and lodging. You need one attachment for the entire trip. Put the scans in the same order as the corresponding rows on your expense summary, or use date order if there is no summary. Add all four images, choose the requested paper size and keep fit selected so totals and dates remain visible.
After generating the PDF, check the page count. There should be four pages. Confirm that page 1 corresponds to the first receipt and page 4 to the last. Zoom in on an amount and date on each page. If the text is fuzzy in the export, compare it with the original image to determine whether the blur came from the initial photograph.
Replace a poor scan rather than trying to rescue it through the PDF export. Photograph the receipt flat in even light and keep its edges inside the frame. For long receipts, retain the portions the recipient needs, such as the merchant, item list and total. If one picture cannot show all of those details clearly, consider using two images and label them as parts of the same receipt.
Worked example: send a two-sided form
For an application with a form on the front and instructions or signatures on the back, photograph each side separately. Put the front first unless the recipient specifies otherwise. Keep the phone parallel with the page, make sure all four corners are visible, and avoid glare near dark text. Capture a new photo if shadows cross a line the recipient has to read.
Choose fit and review the form after export. Look at the heading, page edges and any writing close to a border. Check that the back was included and is facing the right direction. If you must remove an empty back, confirm that the recipient permits it. Some processes ask for both sides even when one looks blank.
Keep the PDF and the original photos until the submission is complete. If a recipient asks for only the first side, use the Split PDF tool to extract it from the checked document or convert that photo on its own. Name the new copy clearly so it is not confused with the original two-page packet.
Handle long, wide or sideways images
A long screenshot can appear tiny on one portrait PDF page because fit has to shrink its entire height to the available space. If you need it to remain readable, split it into several images at meaningful section boundaries before conversion. For example, keep a heading and the controls it describes together. Put the resulting images in reading order and check that they fit comfortably.
A wide spreadsheet screenshot can have the same problem. Crop to the relevant columns if the recipient does not need the rest. When they do need the entire spreadsheet, exporting to PDF from the original spreadsheet application may work better because it can control page breaks and paper orientation without relying on a picture of the screen.
Rotate sideways originals before adding them where possible. If you already made the PDF, use the PDF Page Organizer to rotate a page and save a revised version. Check it in a second viewer when the orientation is important, especially if you plan to print the result or include it in a larger packet.
Understand the file limits and image resolution
FixHubLab accepts up to 20 images, with up to 10 MB per image, 40 MB combined and 12 million source pixels per image. Working images are reduced to at most 2400 pixels on their longest edge. File size and source pixel count are separate checks. A compressed phone photo can be under 10 MB and still have more pixels than the tool accepts.
If a source is too large, make a smaller working copy in an editor that can open it. The Image Resizer is useful for supported inputs when you know the output dimensions you want. Keep proportions locked and choose a size that still shows the content clearly. Save the original in case someone asks for a full-resolution image or a closer crop of part of the page.
For photos with fine writing, test one or two example pages before converting the entire folder. Open the PDF, zoom in on the smallest relevant detail and compare it with the source. If that detail is essential and unreadable, capture a tighter image or use a different workflow that preserves the amount of detail the recipient requires.
Reduce a PDF that is too large for an upload
Check the actual PDF size after download. It may differ from the combined sizes of the input images because the exporter creates a new file. If the result exceeds the upload limit, first look for duplicate or unnecessary images. Removing a page you do not need is often better than making every page harder to read.
For a packet full of high-resolution photos, make smaller copies of the largest images before conversion. Test the most detailed receipt or form first so you know whether the new size is still readable. The Image Compressor can help you compare image exports, but the final check is the size and readability of the actual PDF.
If a file remains too large and the instructions allow several attachments, consider making two smaller packets. Put related items together rather than dividing at a random point. For example, one file may hold the application form and another may hold supporting images. When a single PDF is required, ask the recipient about the limit before sacrificing details they might need to read.
Keep the difference between a scan and editable text clear
A PDF made from images can contain clear pictures of words while having no selectable text for the reader to copy. If the recipient needs searchable content, a different process that adds a text layer may be appropriate. Test by opening the finished file and trying to select one word or search for a known phrase. The result tells you more than the way a page looks.
For a single photo or screenshot, the Image to Text tool can extract English or Urdu text for work in another document. Compare the result with the source, particularly names, dates and numbers. Keep the image or PDF when the original layout, signature or handwritten marks matter. An editable transcription is useful, but it serves a different purpose from the visual record.
If you have access to the source document, consider exporting a PDF from that application instead of photographing the printed copy. A document editor may be able to preserve the original text and layout. Photos are a suitable choice for paper originals, images sent by someone else, or documents you cannot access in editable form.
Add the image PDF to an existing document
If you already have a report as a PDF, convert the supporting images into a separate PDF first. Check that the image pages are readable and arranged in the intended order. Then open Merge PDF, add the report and the supporting PDF, and place them in the required sequence.
For example, a report might have eight pages and three supporting photos. If the photos belong after the report, the final file should have eleven pages, with the first photo on page 9. If the image pages must appear in the middle, divide the main document at that point and merge the three parts in order. Our PDF merging guide walks through that example.
Keep the supporting PDF as a separate intermediate file if you expect to update the report later. You can merge it again without preparing the photos a second time. If the report is signed or includes interactive fields, keep its original and check the recipient’s requirements before substituting a newly merged copy.
Review the result before it leaves your device
Open the downloaded PDF and confirm the page count, order and paper size. Look at the first and last pages, then check any image that was wide, dark or hard to read. Zoom in on small words and totals. Use print preview if it will be printed, and pay attention to page edges where a close crop might make the contents difficult to read.
Check the file for pages or details the recipient did not request. This is especially important with receipts, forms and documents photographed on a shared desk. Crop out unrelated background before conversion where appropriate. If information on a retained page must be redacted, use the required redaction workflow and verify the final copy rather than relying on the PDF wrapper to hide it.
Give the checked file a clear name and keep it separate from tests. A name that describes the purpose and date is usually easier for a recipient to recognise than the default download name. If you need to remake it, keep the source images and their order. That way a blurred photo can be replaced without reconstructing the entire packet from the finished PDF.
Check the packet after a trial upload
Some upload forms show a preview after you add a PDF. If the form provides one, open it and look for the expected page count and headings. A preview that displays only the first page does not by itself show that the other pages were lost. Check the completed attachment or confirmation screen if the service provides access to it.
If you have to replace a file, confirm which upload entry contains the corrected version. Some forms accept multiple attachments, while others retain only the last one. Keep the checked PDF on your device until the recipient has received the correct document.
A quick decision guide for common jobs
Choose one image per page when a reader needs to zoom in, print each photograph or refer to specific pages. Use a composite image when several small pictures need to sit next to one another on a single page. Prefer fit for documents where every edge matters, and prefer fill only when the photograph can tolerate a crop.
Use A4 or US Letter as required by the recipient, prepare the source images in the order they should appear, and test a small sample when readability or file size is important. If the result is easy to read, contains all the right pages and complies with the upload limits, you have a usable file. Save your sources and share the checked PDF.