
How to Remove a Photo Background and Save a Transparent PNG
Choose the right removal mode, clean up the edges and check that your PNG actually stays transparent.
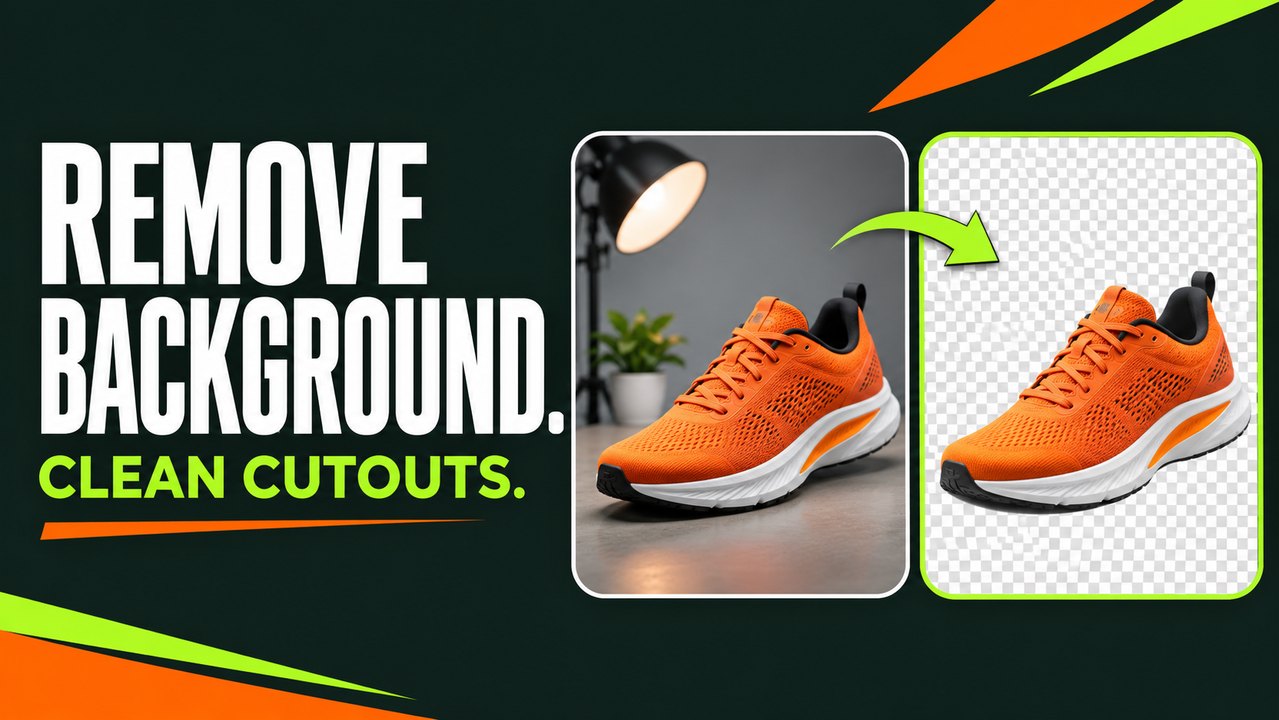
Remove an image background in your browser
Open the Background Remover, then choose a JPG, PNG or WebP image. Select Portrait AI for a photo of a person. Choose Plain background when you want to remove a mostly uniform backdrop by colour. Apply the selected mode, inspect the result and download the transparent PNG. Keep the source photo until you know the cutout works where you intend to use it.
For a person standing outdoors or in a room, start with Portrait AI. For a coloured graphic on a white background or a product on a consistent backdrop, try the plain-background mode. These are different operations. Portrait AI tries to distinguish a person from their surroundings. Plain background mode removes pixels resembling the colour you select, wherever they appear in the image.
Check the subject's edges and also the inside of the cutout. A picture can appear clean around the outside even when small parts of the subject disappeared. Test it over a light background and a dark one if possible. An edge that blends in on white may become an obvious halo on a darker page.
Decide where the cutout will be used
A profile image needs a clean outline around the head and shoulders. A product card may need a complete silhouette with space around it. A logo may need crisp edges so it remains readable at small sizes. Start with the intended destination because it tells you which edges matter and how large the source needs to be.
Check whether the destination accepts transparent PNG. Some platforms flatten uploaded images, crop them into a circle or add a solid background. If you will place the cutout in a design editor, check the final design over the actual background colour. A cutout prepared for a dark banner can look different on a white marketplace page.
Keep a transparent master if you expect to reuse the image. You can put that master over different backgrounds and export a new copy for each purpose. If the final site only accepts JPG, compose the image over the background you want before exporting. JPG does not preserve transparency, so retain the PNG as a separate working file.
Choose a source image that gives the method a fair chance
Use a sharp original if you can. A screenshot of a tiny photo or a file that has already been heavily compressed may contain fuzzy edges even before you remove the background. Pay attention to fine features such as hair, straps and small text. If they are missing from the source, background removal cannot bring them back.
Good separation between the subject and its surroundings helps. For a product, place it against a backdrop that contrasts with the object and any small features. Use diffuse light so one part of the backdrop does not become much darker than another. When shooting a person, check the outline of their hair and shoulders in the camera preview.
Leave some space around the subject. An object touching the frame edge can be harder to reuse because the crop may have already removed part of its outline. If there is too much room around it, that can be fixed later. A cut-off shoe heel, sleeve or logo cannot be restored just by creating a transparent background.
Use Portrait AI for people
Select Portrait AI when the main subject is a person. The mode downloads a model when you first apply it, so the first run can take longer than a later one. It is designed for people, and results vary with the photograph. Start with a clear subject, visible edges and enough space around the face and shoulders.
Review the areas most likely to need attention. Check hair strands, the gaps between an arm and the body, eyeglass frames and the edges of light clothing. If there are multiple people, inspect which people were kept. Portrait processing can make different decisions depending on who is visible and how strongly they stand out.
If the result looks uneven, try a different source photo or crop away distractions before processing. You can use the Image Editor to create a working crop without discarding the original. A crop that gives the person room at the edges while removing irrelevant areas is often a better input than a distant photograph of an entire room.
Use Plain background for a flat colour
In Plain background mode, choose the backdrop colour with the picker. Start with a low tolerance and apply it. If some background remains, increase tolerance gradually and review a fresh result. The tolerance controls how far the removal can extend from the chosen colour. A larger value may remove more of the backdrop and may also remove parts of a similar colour inside the subject.
Sample a colour that represents most of the backdrop rather than just a bright corner or a deep shadow. If the backdrop is uneven, one colour setting may not cover the full range without affecting the subject. Take a new picture against a cleaner background when the tool cannot remove the backdrop while keeping important subject details.
Adjust edge softness in small steps if the silhouette looks too harsh. A small adjustment can help an edge blend into a new design. Too much softness can make a product outline look blurred or fade the ends of thin details. Compare the result with the original at the size you will actually use and stop once the edge looks acceptable.
Worked example: isolate a product on a plain backdrop
Suppose you photograph a dark bag on a pale desk and want a transparent PNG for a shop graphic. Begin with the largest sharp copy you can use. Choose Plain background and sample a representative part of the pale desk. Apply a low tolerance and look at the bag’s outline, handles, zips and any light labels.
If there is an untouched patch of desk near one corner, inspect its colour. A shadow may be much darker than the background sample. Try an incremental adjustment, but watch the seam and label. If the adjustment begins to remove a light label that matters to the listing, revert and look for a more even source photo rather than increasing the tolerance again.
Download the cleanest version and place it on the intended background in your design. Inspect the gap inside the handle and the bottom edge where the bag meets the surface. If you want a natural-looking shadow in the finished layout, it may be easier to add a deliberate shadow after you have confirmed the object itself is intact.
Worked example: prepare a portrait for a small profile image
Start with a portrait where the person is clearly visible and there is space above the head. In Portrait AI mode, remove the surroundings and inspect the sides of the hair and the edges of the clothes. Use the checkerboard or a new background in a compatible editor to see which pixels remain.
For a square output, choose a crop with space around the top and sides before resizing. Some profile pages display the square inside a circle, which hides the corners. Keep the face within the inner area and check what happens in the platform’s preview. Our guide to resizing without stretching explains when to use cropping or padding for a fixed shape.
Save both a transparent cutout and a profile-sized export if the image will be reused in other layouts. For a small card, reduce the resolution after the cutout is ready. Open the resized version and confirm that the crop did not remove an ear, edge of hair or part of an accessory. Tiny profile images often benefit from a simpler composition.
Fix halos and unexpected transparent spots
A halo is a thin rim of the old background around the subject. It may be invisible against a similar colour and obvious on a different one. Place the cutout over a dark shade and a light shade to identify the problem. If the outline itself is intact, try a small tolerance or edge-softness change and compare both exports.
If the problem is a spot inside the object becoming transparent, reduce the tolerance first. This commonly matters when the backdrop colour also appears in the object, such as a white logo on a dark shirt against a white wall. Plain background mode removes colours across the image, so it cannot automatically know that a white logo should stay.
When a cutout needs fine control around jewellery, strands or translucent materials, an editor with manual masking may be more appropriate. Keep the original, complete the basic cutout as a working copy and refine it separately. It is often better to stop before deleting useful details than to force a fully clean edge with an aggressive setting.
Check that the PNG actually has transparency
Open the saved PNG in an editor that can show a checkerboard for transparent pixels. You can also place it above a layer filled with a contrasting colour. If the new colour shows through outside the subject, those pixels are transparent. If a solid white box stays visible above the new layer, the background is likely still part of the image.
Some ordinary image viewers display transparent areas against white or black. A white-looking background in one viewer does not prove the file is opaque. Check in a second viewer or with a coloured layer if you are unsure. Inspect the exact saved file rather than relying entirely on the browser preview.
Changing a filename extension does not create transparency. Converting a JPG into PNG also keeps its solid background unless you remove it. Our JPG to PNG guide explains the difference between changing the file format and changing the pixels in the picture. Use PNG for the cutout once the background has actually been removed.
Resize the cutout for its final layout
Use the Image Resizer if the website asks for a specific width or height. Select PNG for the output when you need transparent pixels to remain. Lock the aspect ratio so your cutout does not stretch. After exporting, open the PNG over a contrasting layer again to confirm the resize preserved the transparent areas you need.
If you need several versions, make them from the transparent master. A webshop might need a small result for search cards and a wider version for a product page. Save the versions with clear names that identify their sizes. Avoid enlarging a small preview to make a full product image because it can look soft and expose rough edges.
If the export exceeds a file-size limit, remove unnecessary empty space or reduce the dimensions where the destination permits it. Compare the final result at the size it will be displayed. The Image Compressor can help test smaller exports, but check the chosen format and transparency again after any conversion.
Work within the tool limits
The background tool accepts JPG, PNG and WebP files up to 20 MB and 12 million source pixels. File size in megabytes and the number of pixels are checked separately. A phone photo may compress efficiently while still exceeding the pixel limit. If necessary, open a copy in an editor that supports its size and reduce the dimensions before using the browser tool.
Portrait mode needs to fetch the model when first used. If a browser blocks the needed download or a network connection fails, try again when the connection is available or use the plain mode if the photo is suitable for colour removal. Do not expect the plain mode to separate a person from a busy scene if the person and the background share similar colours.
If processing fails, try a smaller working copy and close other demanding browser tabs. Keep the original so you can switch to a different editor without relying on a reduced result. The tool’s model download is separate from your image. If you need more information about how files and provider requests are handled, see the FixHubLab Privacy Policy.
Prepare a consistent set of product images
Start with two examples rather than applying identical settings to the whole catalogue. Choose one product with a simple outline and one with thin or light parts. Compare each cutout at the final card size. If the same settings work for the simple item and fail on the detailed one, process the detailed item separately.
Use consistent framing when you take the photographs. Leave room around each product and keep shadows as even as possible. Then position the results similarly in the final layout. Two cutouts can both be technically clean yet look mismatched if one object occupies most of the frame and the other is very small.
Keep a version on a transparent canvas and a version for the final marketplace or website where useful. Double-check the platform preview, especially if it adds its own background to the image. Check labels, straps, handles and thin edges one last time before replacing the product photos you already have.
Set up a better photo if the first cutout is rough
For a product on a flat background, place a sheet behind the item and make the transition between the horizontal and vertical surfaces gentle. This can reduce hard lines behind the object. Choose a shade that is distinct from labels, accessories and reflective parts. A backdrop selected only to contrast with the main colour may still match a small detail that needs to stay.
Try to keep the light consistent across the backdrop. If one side is bright and the other falls into shadow, you may need a wide tolerance that removes useful pixels. Move the light, diffuse it, or turn the arrangement if that helps even out the scene. Check both the dark and light parts of the image in the camera preview before you take a series of photographs.
For an item with glass, polished metal or a partly transparent surface, be especially careful. The background can appear inside or across the outline through reflections and refraction. In those cases, a simple colour-key cutout may require extra work even with a clean photograph. Test a single copy in its intended layout before investing time in a large set of similar images.
When the backdrop cannot be changed, decide whether the picture actually needs full transparency. A tidy crop on the existing background may be adequate for an internal catalogue or printed reference. A deliberate rectangular photo can be clearer than a cutout with missing edges.
A checklist before using your new PNG
Check that the full subject is visible, including fine details. Look for leftover pixels at the edges and unexpected holes where the subject matches the backdrop. Compare the cutout against a light and dark colour. Confirm the output is a PNG with usable transparency, and inspect it at the size it will appear.
Use Portrait AI when your target is a person and Plain background when the backdrop has a clear solid colour. Start with the best original, change settings in small steps and preserve the source file. A good result is a cutout that looks right in the real layout, whether that is a small profile card, a banner or a product listing.